Managing Hot Leads Configuration
Hot Leads is a feature of the RingDNA Communications Hub which allows you to route your most important leads to an Agent’s dialer. This notifies them at the peak of the lead’s interest and allows them to close business quicker.
Overview
Hot Leads is a Revenue.io Managed Package which works in conjunction with the settings configurable in the Revenue.io Admin Console. This feature enables an Administrator to create automation in Salesforce which triggers a lead to be displayed in real-time to an agent in the RingDNA Communications Hub. It notifies agents at the peak of the lead’s interest, allowing them to close business faster.
Hot leads is a configurable, intelligent lead prioritization engine.
Package Components
Hot Leads is a Revenue.io Managed Package. The Salesforce package contains the objects, fields, and triggers used to flag leads as “hot” and sync that status to the RingDNA Communications Hub in real time.
CreateLeadListener (Lead Trigger)will run when a Lead is created or edited with RingDNA WebLead (Checkbox) checked. This will send an update from Salesforce to Revenue.io’s servers signaling our software to notify your users in their RingDNA Communications Hub.
For this connection to be established, the Custom Setting RingDNA Environment value should be set to production
For installation instructions, refer to: Installing the Revenue.io Hot Leads Package
Configuring Hot Leads in Admin Console
Hot Leads can be configured in the Admin Console through RingDNA -> Hot Leads.
Enabling Hot Leads
Enable Hot Leads by turning on the toggle

In Admin Console, go to Users and click on the user you want to enable Hot Leads for.
Click on the Products tab.
Click into RingDNA Communication Hub.
Enable the Hot Leads toggle.
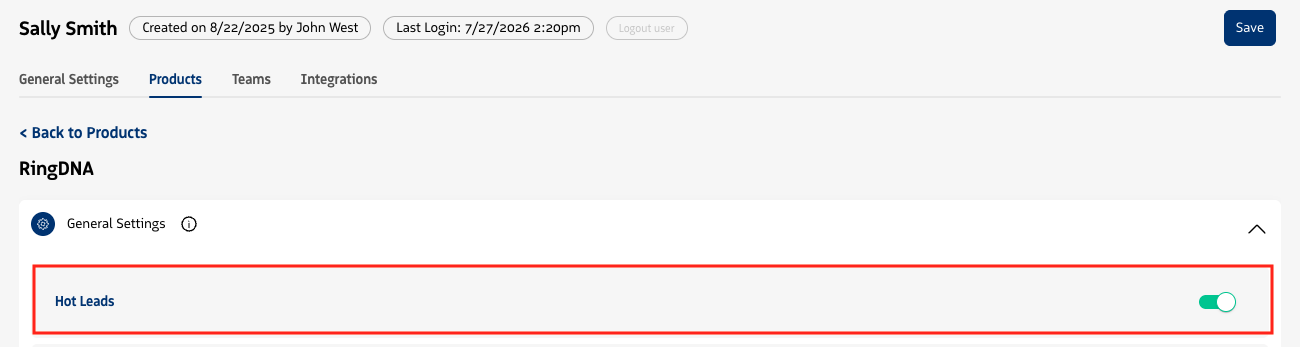
Filter by Lead Source
The Filter by Lead Source toggle controls whether users can filter their Hot Leads view by Lead Source.
- ON (default) - The Lead Source filter is visible on the Hot Leads tab. The filter dynamically populates with the unique Lead Sources from all active Hot Leads, sorted alphabetically.
- OFF: The Lead Source filter is hidden from the Hot Leads page.
Note: The Lead Source filter is automatically hidden when Presentation Mode is set to Single.
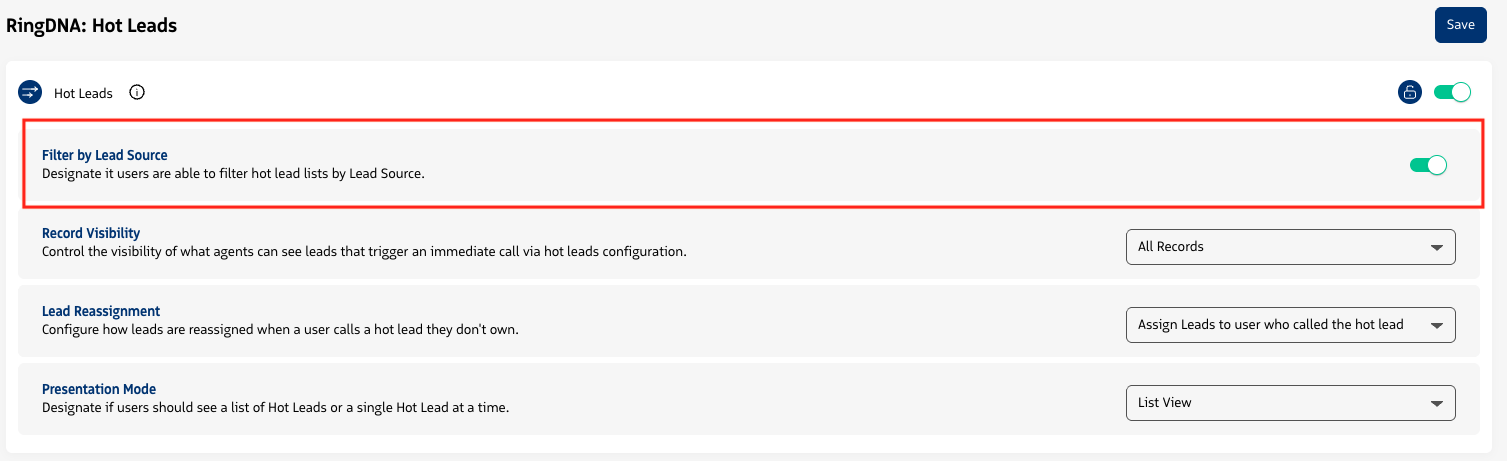
Record Visibility
The Record Visibility setting controls what agents can see leads that trigger an immediate call via hot leads configuration.
- All Records (default)
- Only Owned Records
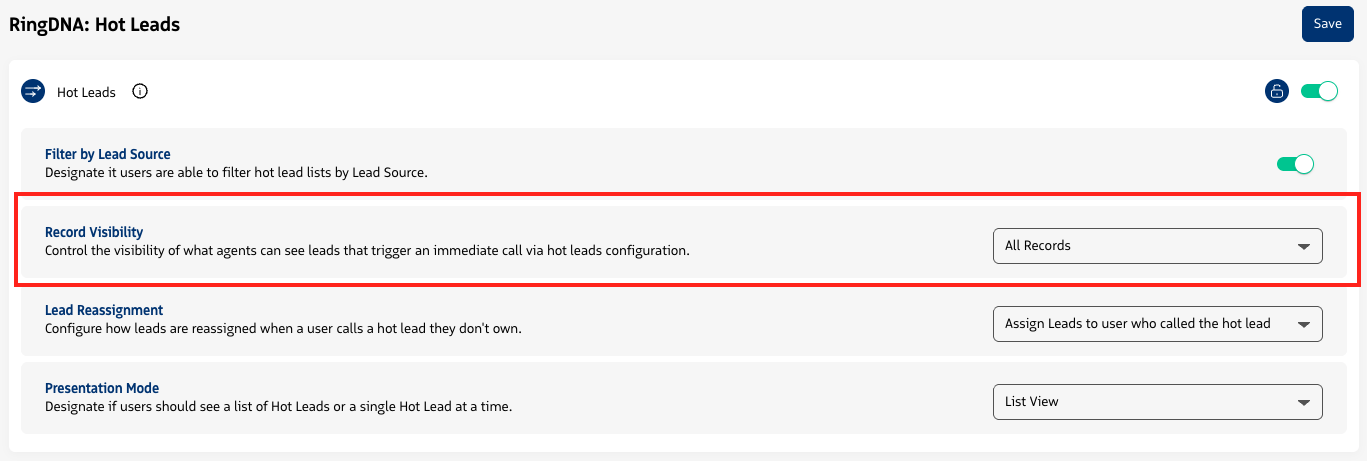
Lead Reassignment
The Lead Reassignment setting controls automatic lead ownership reassignment when reps interact with Hot Leads through the notification card.
| Option | Behavior |
|---|---|
| Do not reassign leads | Lead ownership remains unchanged regardless of call outcome. |
| Assign leads to user who called the hot lead | The lead is automatically reassigned to the rep immediately upon call initiation from the Hot Leads card. |
| Only assign leads based on disposition | The lead is reassigned only when the rep completes a call with a matching configured disposition. Non-matching dispositions leave ownership unchanged. |
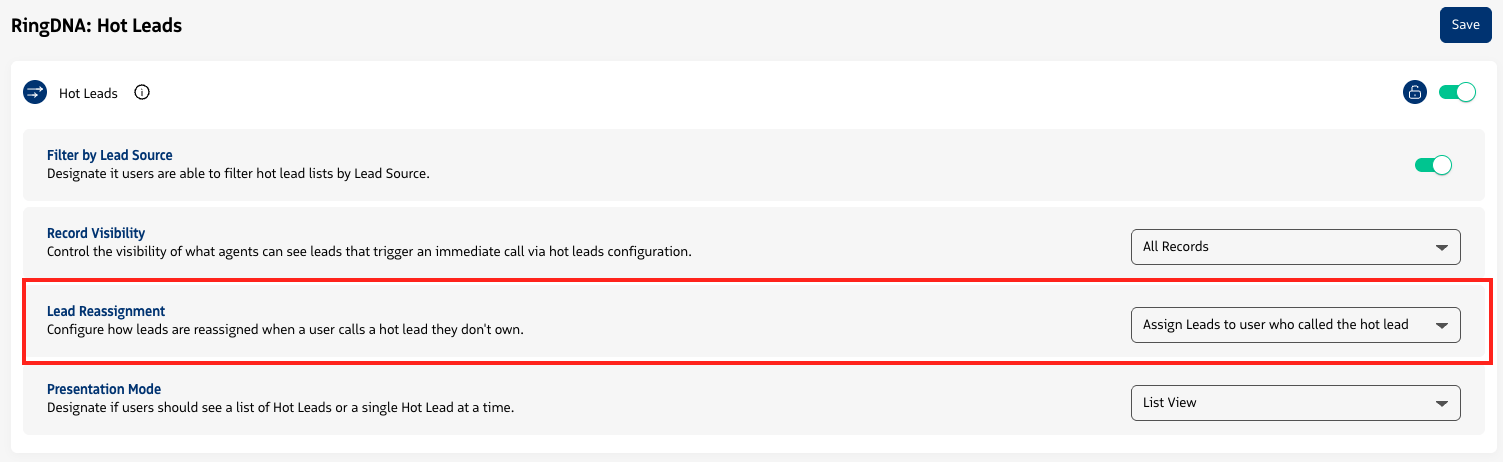
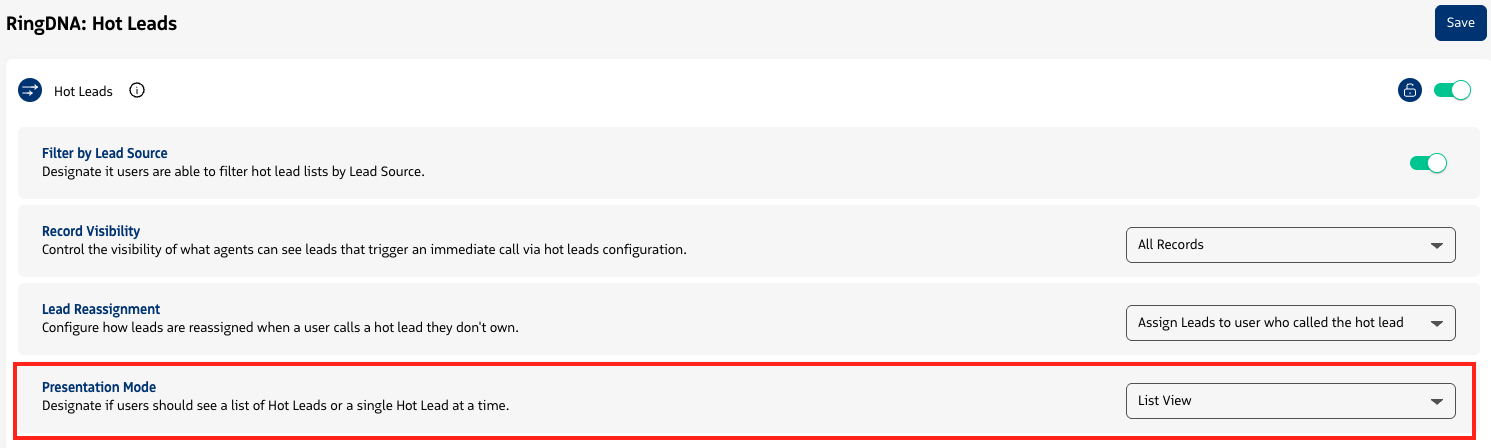
Presentation Mode
The Presentation Mode setting controls how Hot Leads are displayed to users in the RingDNA Communications Hub.
- List (default) - Shows all Hot Leads ordered by the configured prioritization.
- Single - Shows only the top Hot Lead at a time based on prioritization order. As each lead is called and removed, the next highest-priority lead is shown. Search is disabled in this mode. The Lead Source filter is hidden. The Hot Leads tab notification count still reflects the total number of Hot Leads available.
Priority Order
The Priority Order section controls how Hot Leads are prioritized and sorted for users.
- Lead Create Date (default) - Sort by Newest First or Oldest First
- Custom Salesforce Field - Select any Text, Boolean, or Numeric field from the lead object. Sort options vary by field type (A–Z / Z–A for text; True/False First for boolean; Largest/Smallest for numeric). A tiebreaker (create date) can also be configured.
A computed summary of the current configuration is displayed.

Hot Leads Priority Order example
Notification Card Fields
The Notification Card Fields setting is a Layout Configuration that allows admins to add custom Salesforce fields to Hot Leads notification cards, giving reps additional context when deciding whether to call a lead.
- Click Add Field to open the Notification Card Field picker.

- Select any field from the lead object (Field Name and API Name are shown, grouped by object). Fields already added are disabled in the picker.
Once a field is selected, click Save.
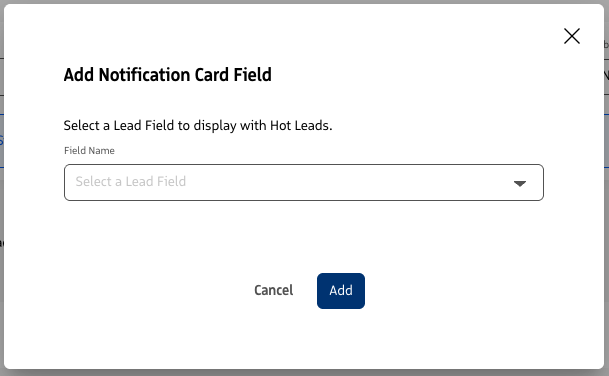
- Selected fields will show. If more than one field is added, they can be dragged and dropped to reorder. Custom fields are displayed on the Hot Lead card after the standard lead information.

Rules
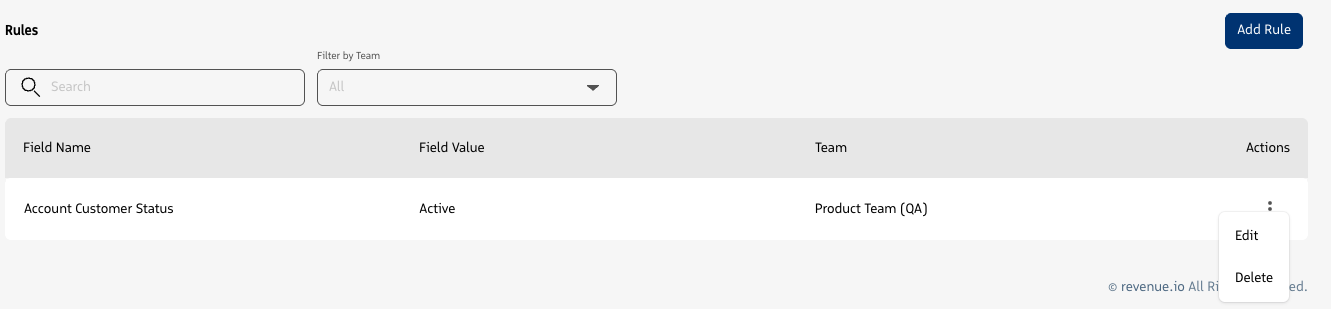
When Hot Leads is enabled, the rules table allows you to define which Salesforce lead field values should trigger a lead to be surfaced as a Hot Lead.
- Click Add Rule to open the Add Rule modal

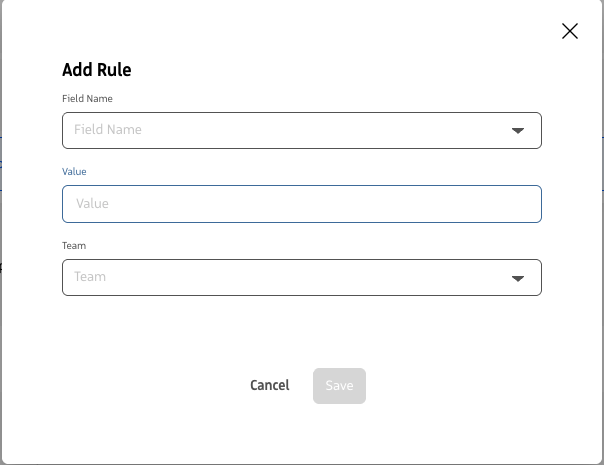
- Select a Field Name from a dropdown (synced live from Salesforce)
- Enter a Field Value.
- Assign one or more Teams. If left blank, the rule applies to All teams.
- Click Save to add the rule.
- Click the menu button on any row to Edit or Delete a rule.
Configuring Hot Leads in Salesforce
Hot Leads are triggered via Salesforce automation (Flows, Process Builder, or Apex triggers) that set the appropriate fields on the Lead object from the Hot Leads managed package.
In order for a Lead to show up as a Hot Lead, a lead should be created or edited to have RingDNA Web Lead checkbox set to TRUE (Checked). This allows for a lot of flexibility for you to determine the rules in your automation.
A few examples:
- When a Lead is created by a prospect completing a contact us form on your site.
- When a Lead has engaged in marketing material and that update is posted to Salesforce.
- When a Lead Score is above a certain threshold.
Example Automation
A common implementation uses a Salesforce Flow triggered when a lead fills out a web form (e.g., Web Lead = True). The flow sets the Hot Leads package fields to flag the record. Once flagged, it appears in real-time in the agent’s RingDNA Communications Hub based on the admin-configured rules.
Create a new Flow in Salesforce
- Navigate to the Salesforce Setup page
- In the Quick Find Bar search Flows
- Select Flows from the results
- Select the option New Flow in the top-right corner of the page
When a Lead is qualified in Hubspot, 6Sense, etc and created in Salesforce with a Lead Score greater than or equal to 50, this flow will be triggered.

| Flow Settings |
|---|
| Type: Record Triggered Flow Object: Lead Trigger the Flow when: A record is created or edited Entry Conditions: - Lead Score is Greater Than or Equal to 50 - Lead Source = Marketing Qualified Lead When to Run the Flow: Every time a record is updated and meets the condition requirements. Optimize the Flow for: Actions and Related Records Run Asynchronously: FALSE |

| Update Records |
|---|
| How to Find Records: Use the lead record that triggered the flow Set Filter Conditions: None – Always update record Set Field Values for the Lead Record: RingDNA Web Lead = {!$GlobalConstant.True} |
Hot Leads and Guided Selling
Use Hot Leads in conjunction with Guided Selling sequences to provide a full sales pathway for your most important leads.
The RingDNA Web Lead field can be used as part of your entrance criteria when building a Sequence targeted to Hot Leads. If your first action in the Sequence is a Call Action, this step will automatically be completed even if the user triggers their call from the Hot Leads tab instead of Engage. Your following actions can then be used to define a winning follow up strategy.