Add and Remove a Participant
When you enroll a participant, you are adding a Lead or Contact to a Sequence. The record becomes an active Participant on that sequence and Guided Selling schedules the Sequence’s Actions. Some actions may run automatically, and others appear as work for you to complete on Engage. The steps below cover manual enrollment from a record or list view.
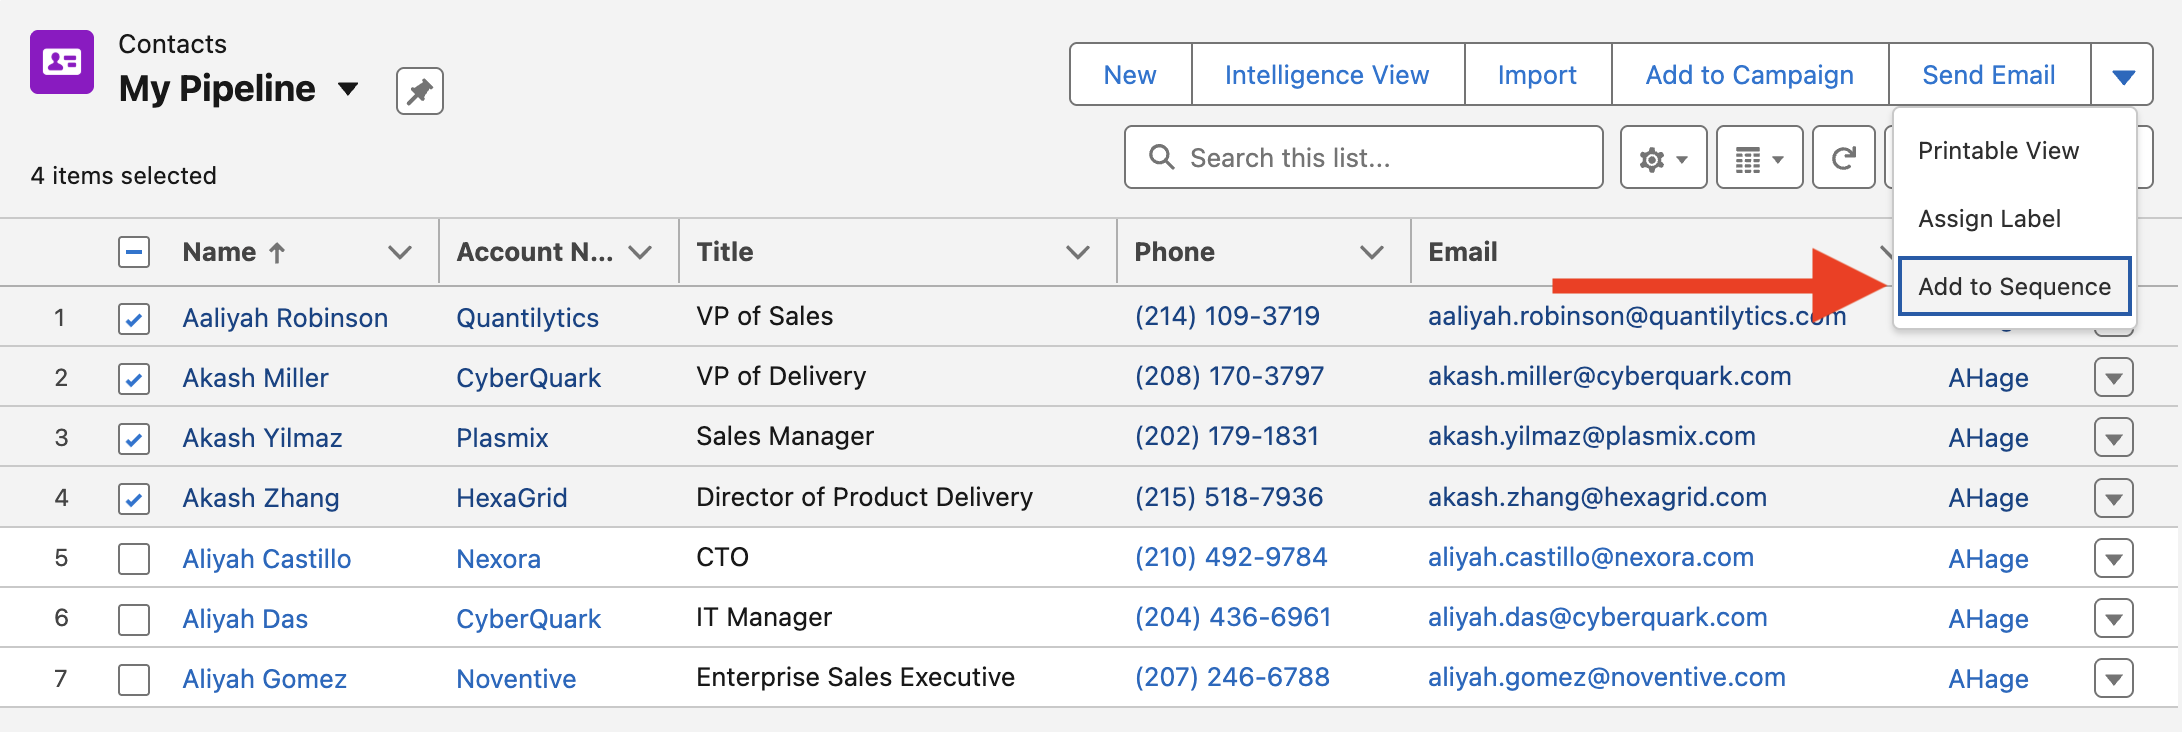
Add a Participant in a Sequence
First decide whether you are enrolling a single Lead or Contact, or multiple records in the same sequence.
- Open a Lead or Contact record in Salesforce
- Locate the
Participant Overviewmodule on the record page, seen below
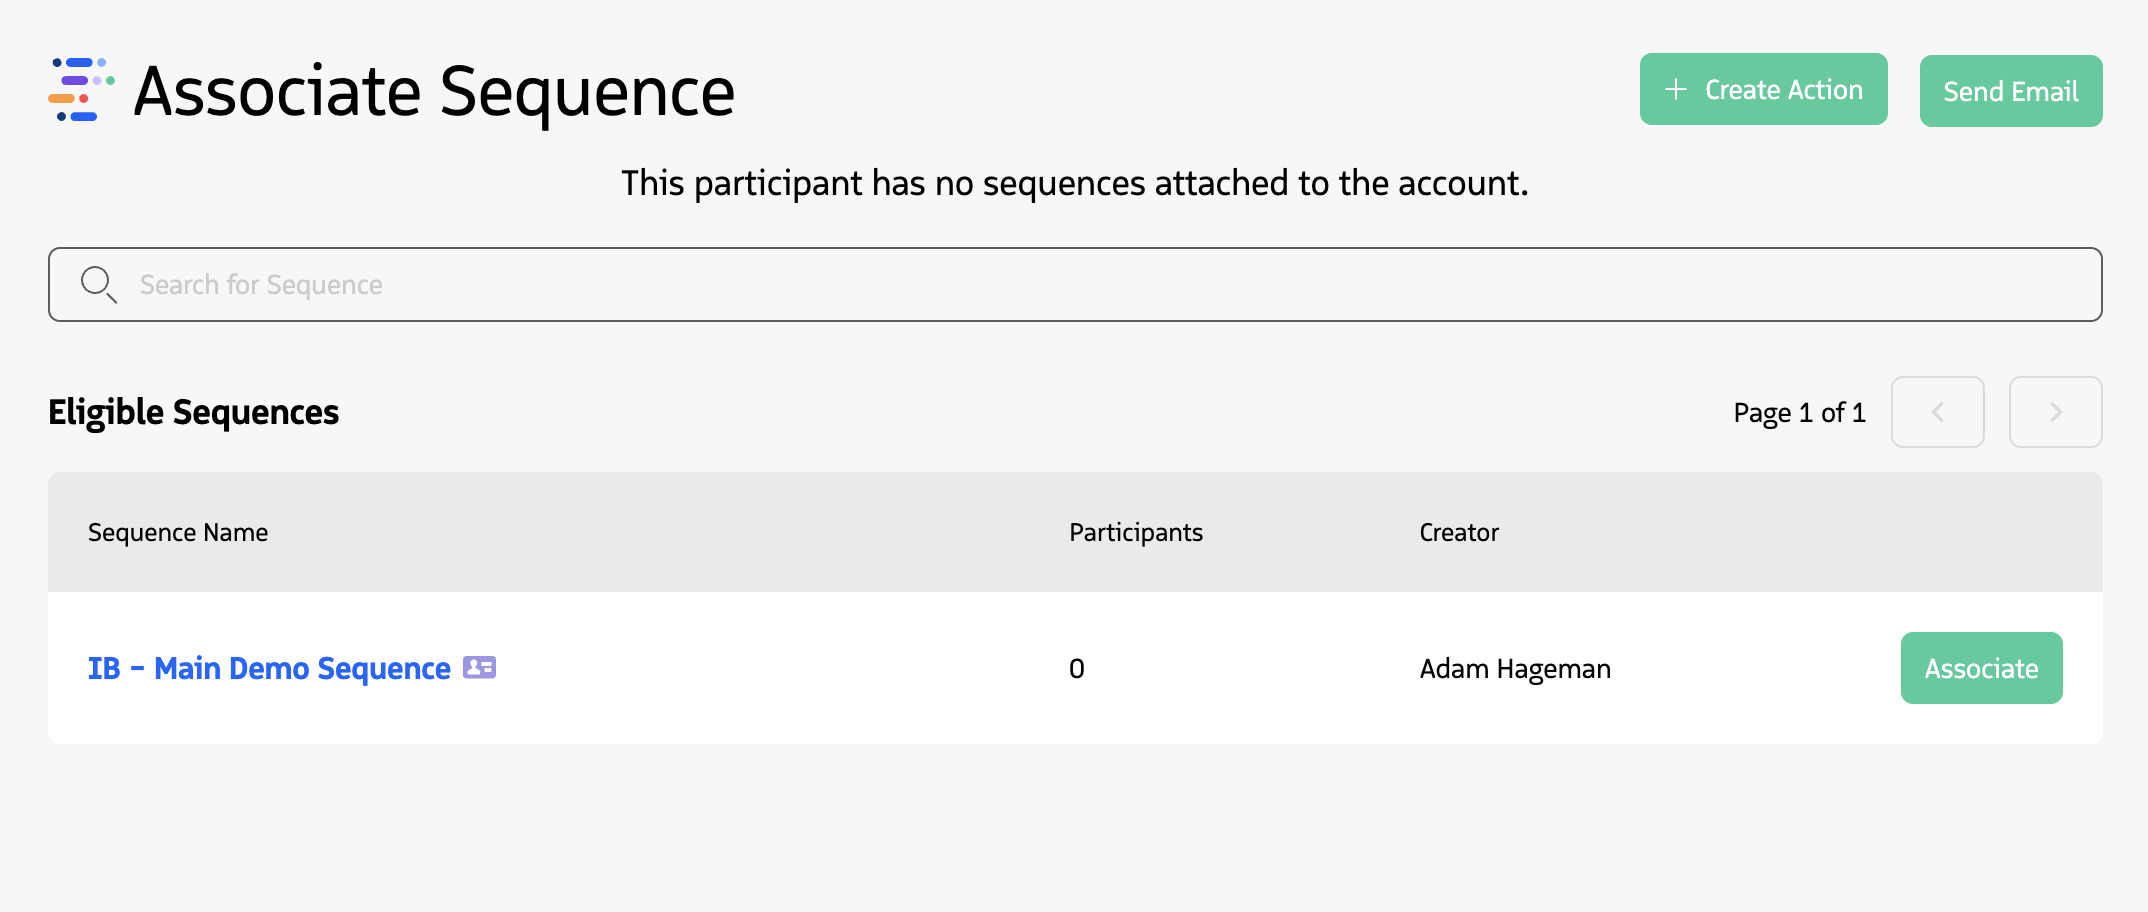
The Participant Overview module is used to manage a Participant’s enrollment and Actions in a Sequence.
Click the
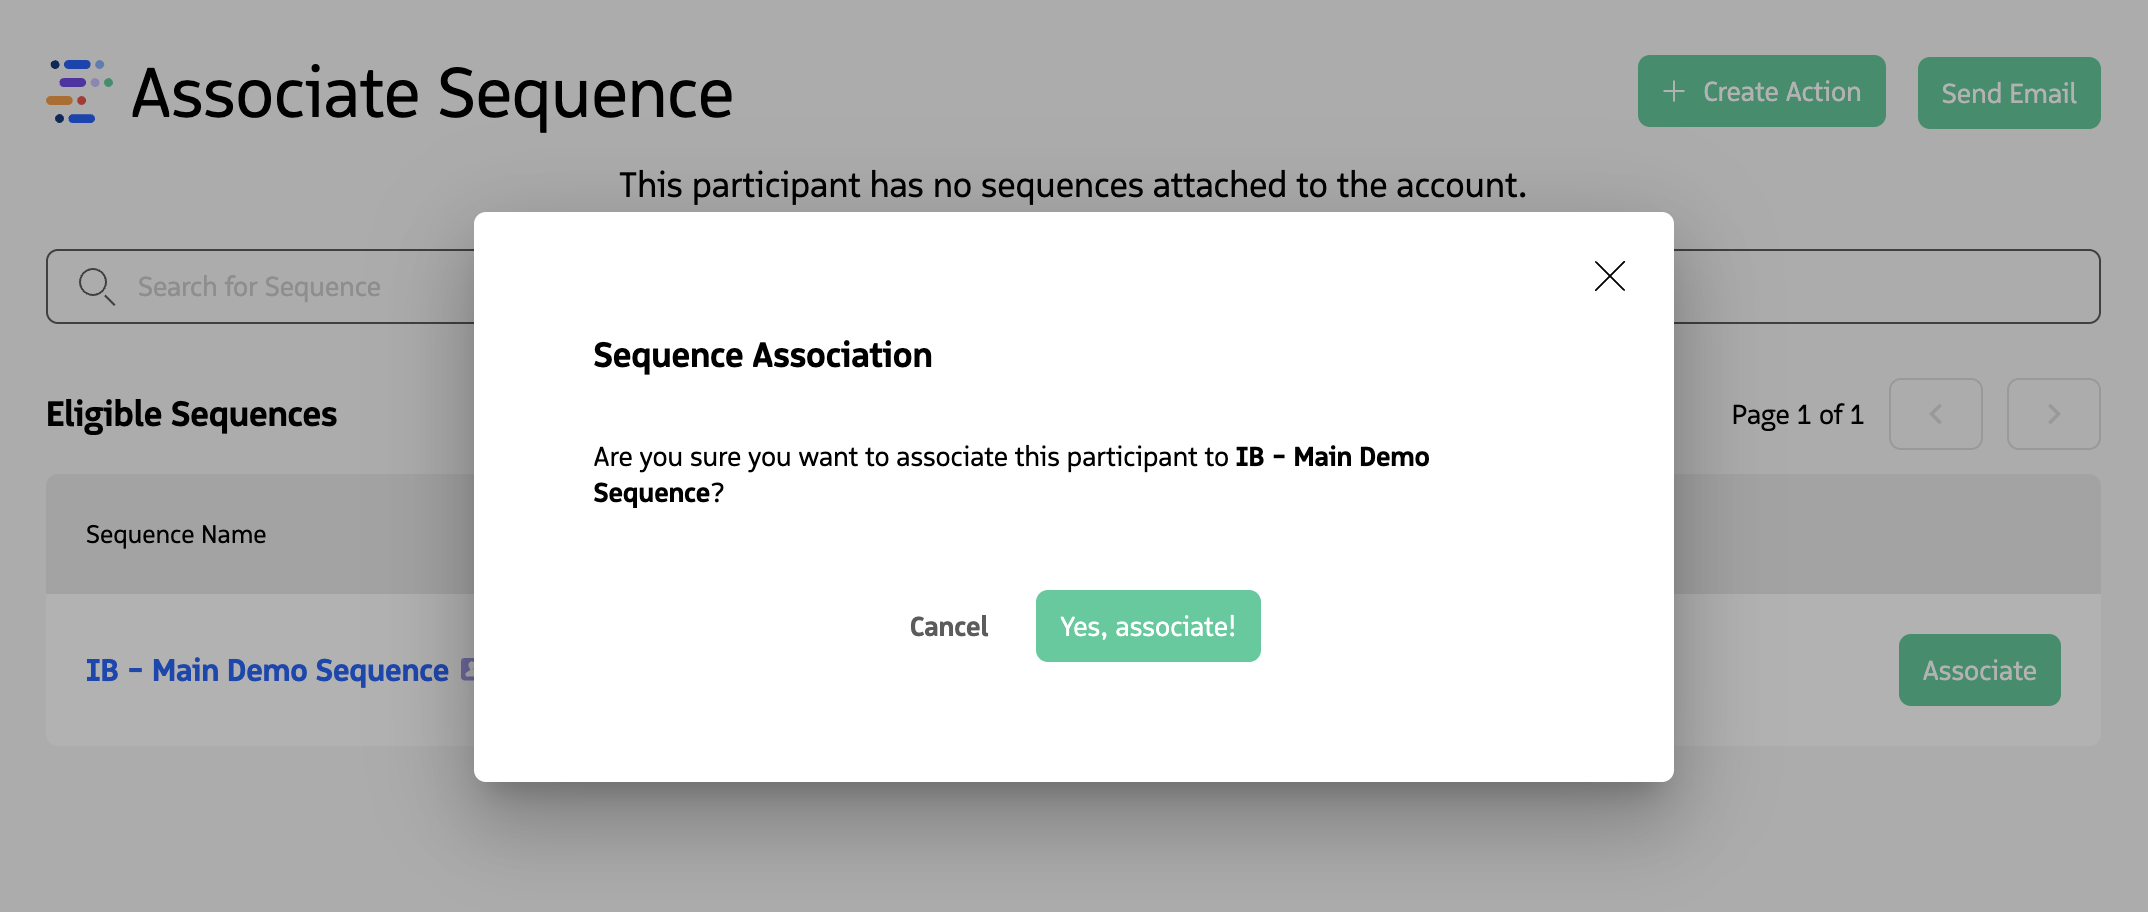
Associatebutton next to an eligible sequenceClick the
Yes, associate!button to enroll the participant
Enrollment Requirements
For a participant to be enrolled in an eligible Sequence:
- The participant must meet the sequence entrance criteria
- The participant must not already be enrolled in another sequence (only one active enrollment at a time)
- The sequence must be active
Automatic Sequences
If a sequence does not appear when you try to associate a record, it may use automatic enrollment. In that case, the system enrolls participants when they satisfy entrance criteria and do not satisfy exit criteria, and you cannot add them manually. Open the Sequences tab, select the sequence, and review its setup on the detail page; View Sequence Details explains each section (including activation type).
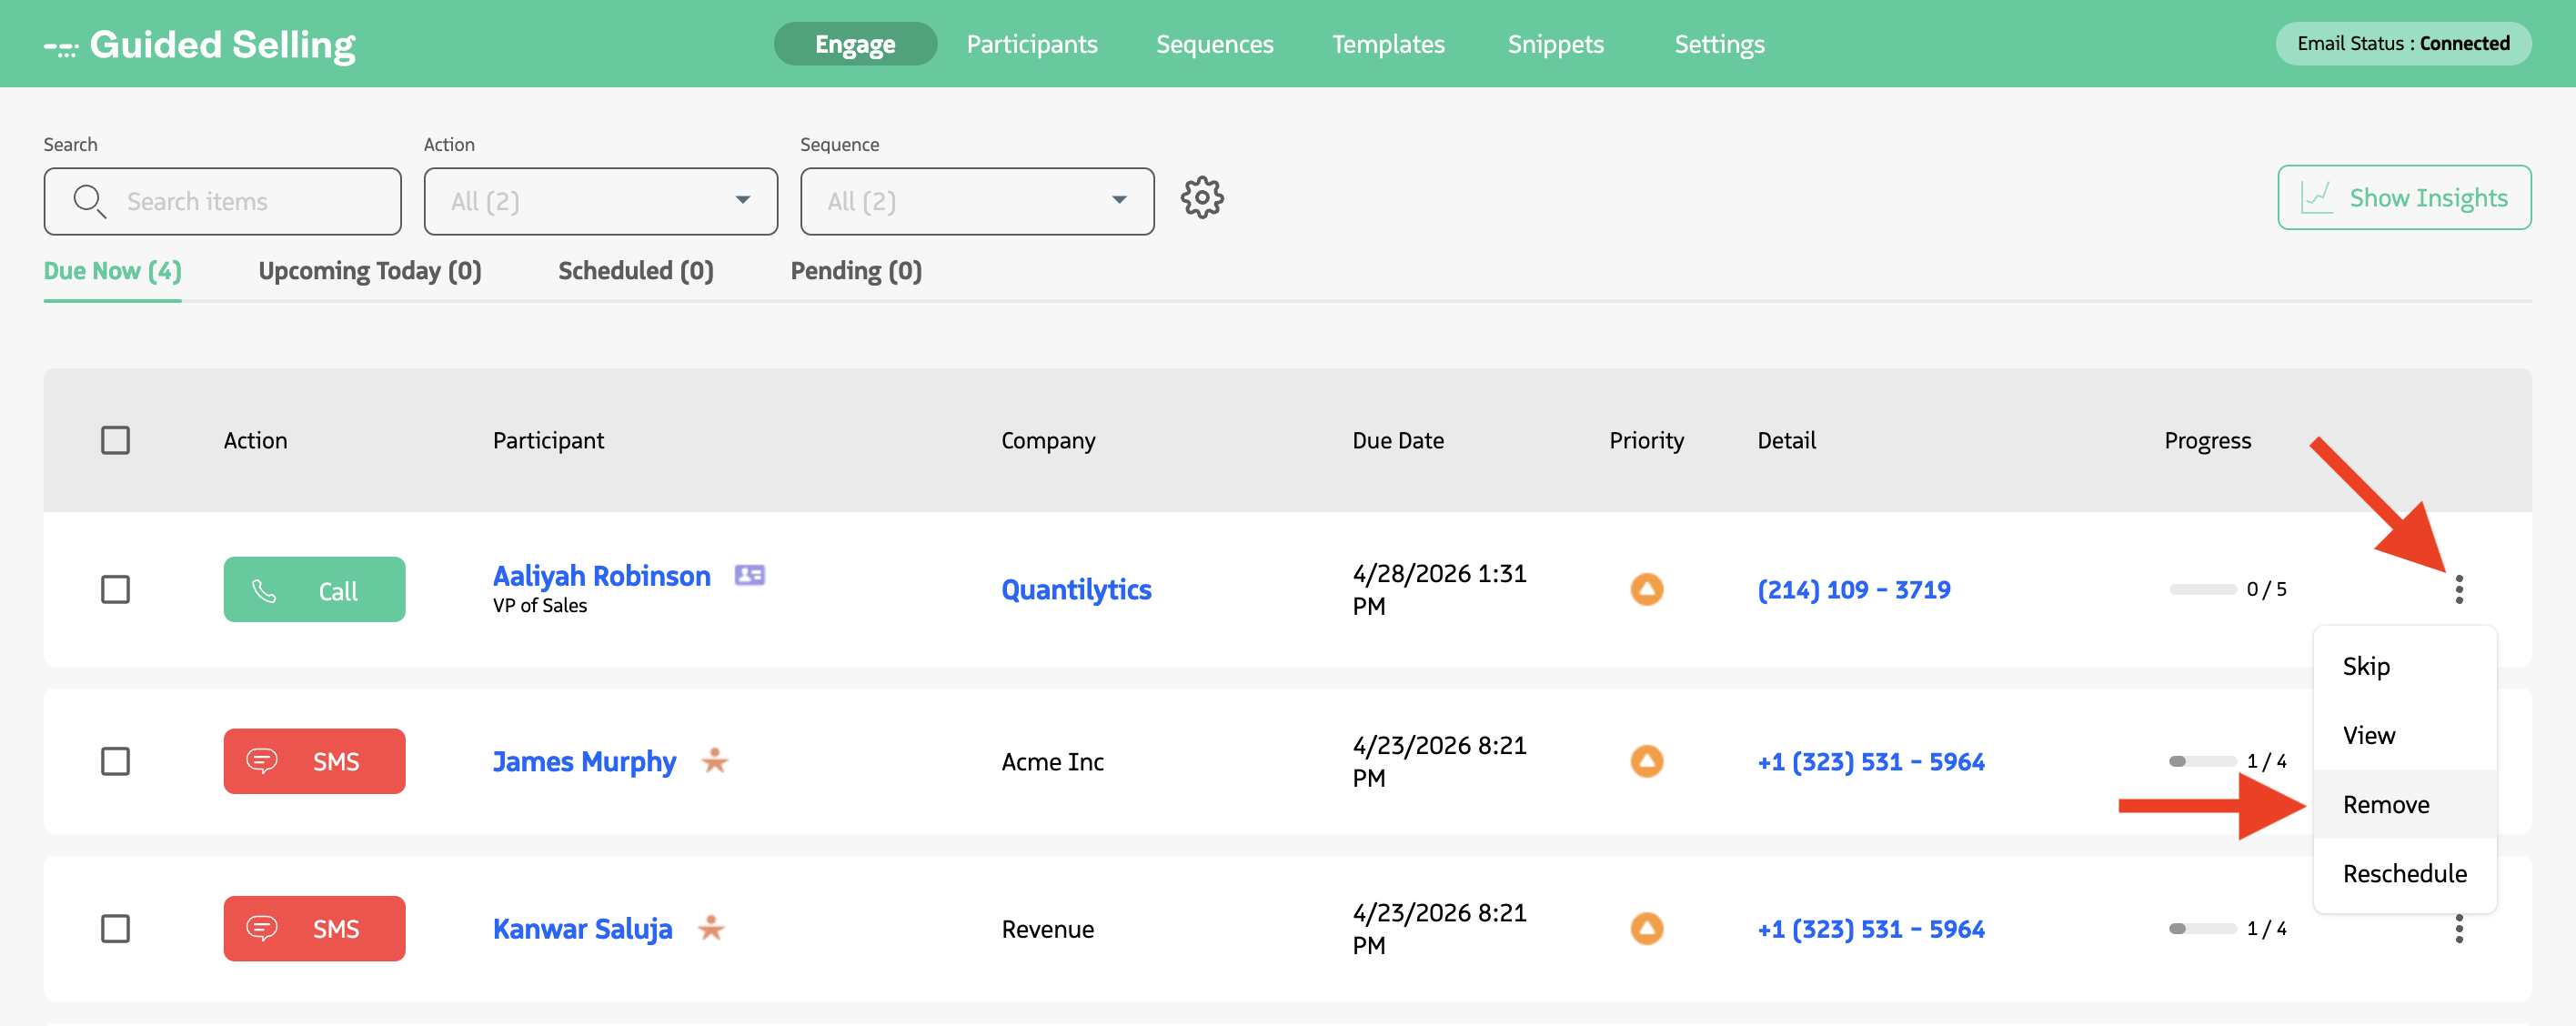
Manually Remove a Participant in a Sequence
In a well-configured sequence, participants typically exit automatically when they meet exit criteria, but you may encounter scenarios that require manual removal.
This section explains how to manually remove a participant from a sequence.
- Open the Lead or Contact in Salesforce.
- Locate the
Participant Overviewmodule on the record page, as shown below. - Click the menu dropdown to the right of the sequence name.
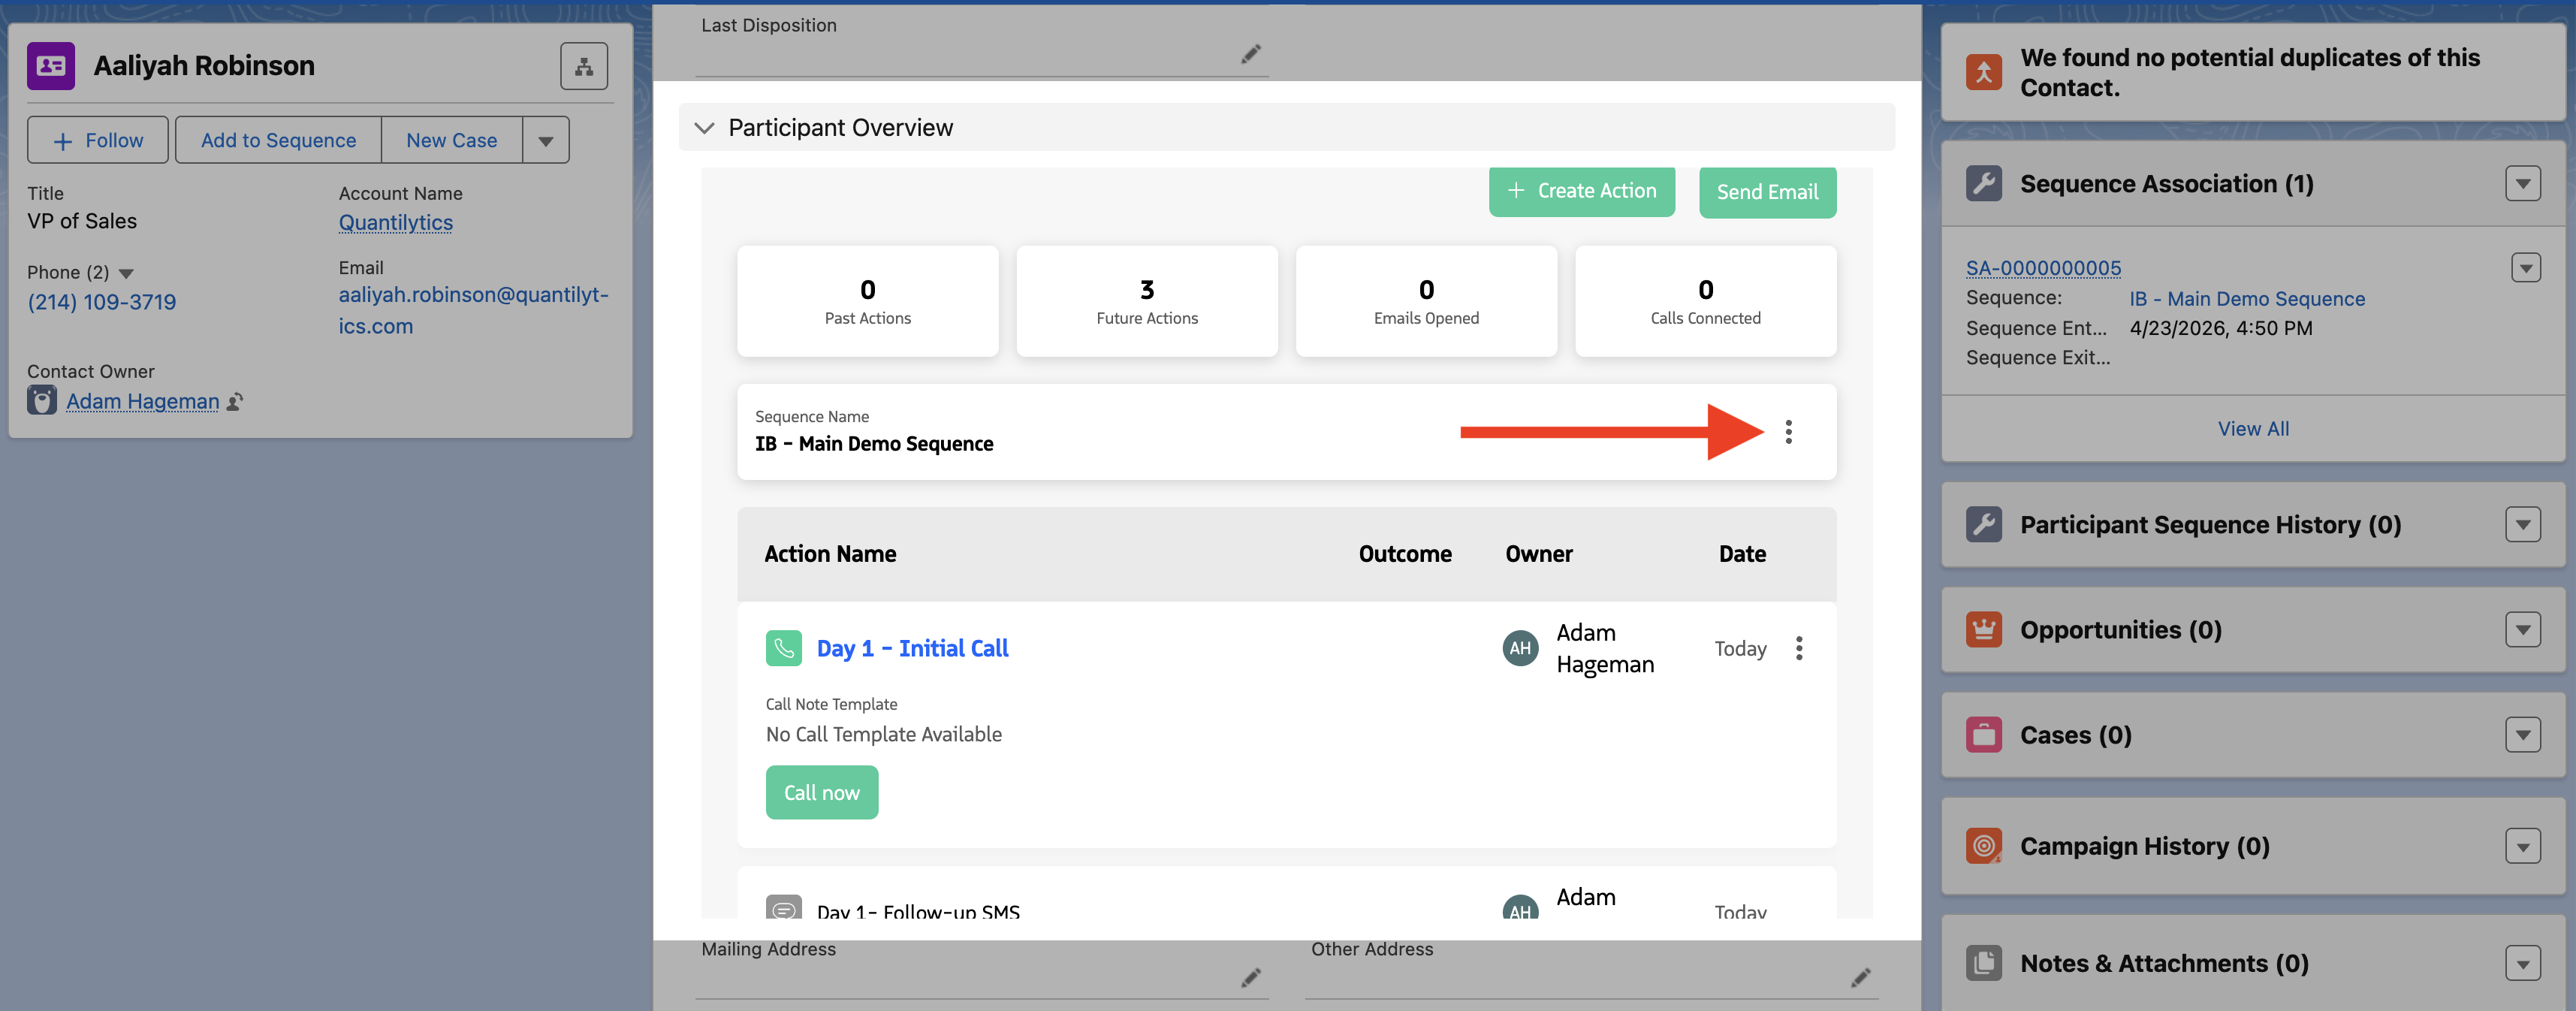
- Click
Remove Sequence, then clickRemovein the confirmation window.